Index
Overview
Throughout the setup of your site it's common to wonder how your members will experience your site. This article is dedicated to the member experience - the interactions your end users will encounter - from creating an account to reviewing their receipt.
Accessing Your Site
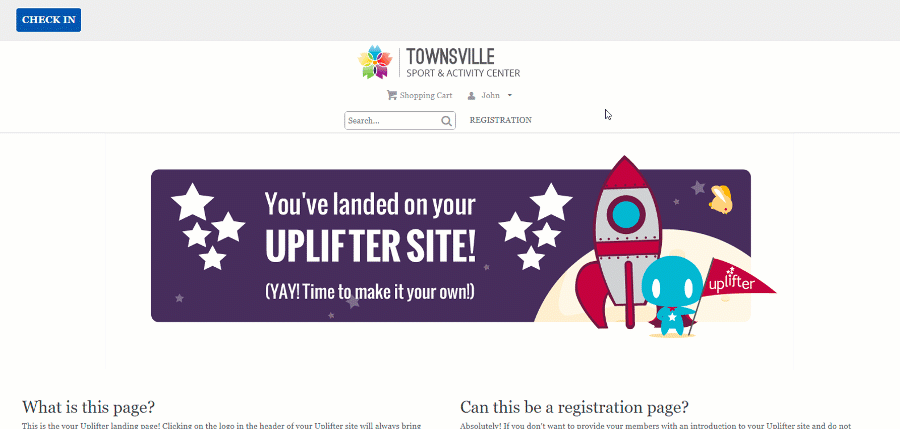
To begin, your members and participants will need to know how to access your site. Your site, at least initially, is available via {club-prefix}.uplifterinc.com. This may change if you update your DNS. If you are unsure of the URL members should access please reach out to our support channel.
Making An Account
The initial creation of a member account can be completed by either selecting the Login option along your main menu, or by selecting Register on any registration page of your site.
Note that existing sites can disable the need for an address upon account creation via Settings > Global Settings > Notifications & Messages > Account Creation Settings >  Disable Signup Address Fields. Sites created after 2019-05-09 will have the address requirement disabled by default.
From The Login Page
- Navigate to Login
- Fill in the First Time Registering? form

From the main menu a user can select the Login link. This will bring them to a dedicated account creation/login page. Here they can fill in the First Time Registering? form to create a member account.
From The Register Button
- Navigate to any registration page
- Select the First Time Registering? tab
- Fill in the First Time Registering? form
From any registration page on your site a user can select a Register button next to a program listing. This will prompt a system pop-up window with the creation/login forms. Here they can select the First Time Registering? tab and fill in the form to create a member account. This process will then prompt the member to create their first participant profile as well.

Note that existing sites can enable the login pop-up via Settings > Global Settings > Look & Feel > Navigation/Links > Enable Login Popup. Sites created after 2019-05-09 will have the login pop-up enabled by default.
These processes generate a Member Account. Member accounts are associated with payments and invoices. You can review your member accounts from the admin side via People & Accounts > Member Accounts.
Accessing Their Account
- Select their name
Learn More
Once logged into your site, users have access to their own account, offering them a plethora of information. This can be accessed by selecting their name at the top of your site's pages.

Help! My Member Forgot Their Password
On the login page there is a link, Forgot your password?. Should users have troubles recalling their passwords it is best practice to direct them here to use this link. As a secondary fallback admins can also navigate to the member's account and Edit  their information. On this form an admin can set the user's password on their behalf.
Please note, if you pursue this method you will want to strongly encourage your member to reset their password after successfully logging in. Please see our article Members for more information on this process.
Adding A Participant
- Select
 Add New Participant
 - Fill in the participant form
- Repeat steps for each participant desired
Learn More
Immediately after creating their member account users will be taken to the Participant page of their account. If they are returning thereafter they can access this page by selecting their name at the top right, then choosing the Participant menu item. To create a participant they need only select Add Participant and fill in the form.

This process generates a Participant Profile. Participant profiles are attached to registrations. You can review your participant profiles from the admin side via People & Accounts > Participants. Please see our article Participants for more information on working with participants.
Interacting With Their Account
Members have many ways they can interact with your Uplifter site. From adding participants and registering to handling payments and inviting other members. For more information on the various functions on the member's account page please see our article Members: Member Accounts.
Credit Cards On Account
Members have full control over the cards they add to their account for use. They can manage these cards by adding, updating, marking as default,and removing.
Adding Cards
- Click their name (My Account)
- Click Saved Payment Methods tab
- Click Add Credit Card
- Enter the card information
- Click Add Credit Card
- Click Submit

Members can add new cards to their account by navigating to their My Account page and selecting the Saved Payment Methods tab. Here, they can select Add Credit Card to introduce a new card to their account. Once they have entered the details they can toggle their preferences with regards to whether or not this is their default card moving forward, then click Submit to save.
Editing Cards
- Click their name (My Account)
- Click Saved Payment Methods tab
- Click Edit next to the card in question
- Update the card information as desired
- Click Submit

Members can update existing cards in their account by navigating to their My Account page and selecting the Saved Payment Methods tab. Here, they can select Edit next to the card in question to begin updating it. Members can update the card's expiry date should they receive a new card with the same number. Once they have updated the details they can click Accept to save.
Updating Default Card
- Click their name (My Account)
- Click Saved Payment Methods tab
- Click Make Default next to the desired card

Members can update existing cards in their account to be selected by the system by default. For this, they can navigating to their My Account page and selecting the Saved Payment Methods tab. Here, they can select Make Default next to the card in question.
Deleting Cards
- Click their name (My Account)
- Click Saved Payment Methods tab
- Click Delete next to the desired card
- Accept the pop-up warning
Members can remove existing cards from their account by navigating to their My Account page and selecting the Saved Payment Methods tab. Here, they can select Delete icon next to the card in question to remove it.
Making A Purchase
- Navigate to a registration page or product/subscription page
- Click on the Register/Add To Cart button for the desired product
- Continue shopping or click View Cart
- Follow the checkout prompts to complete checkout
Learn More
After creating an account and adding participants (though participants are not necessarily required for all purchases) members can navigate to your Registration page and/or product/subscription/ticket page. Here they can add items to cart by clicking on the adjacent Register or Add To Cart button for the desired product.

Once content with the items in their cart they can select View Cart from the shopping pop-up, or select Shopping Cart from the main menu of your site, next to their name. From the shopping cart they can follow the system prompts to complete checkout. Members will be presented with a copy of the invoice in their browser and be sent a copy to their provided email account.
Please note that the pages users navigate to in order to access various items may differ depending on how you set up your site. Additionally, the checkout experience may differ based on any custom fields and/or policies you have created on your site. Please see our articles Public Website Management, Custom Fields, and Policies, respectively, for more information.
Making A Payment
- Navigate to My Account
- Click Make A Payment
- Check off each payment you wish to pay immediately
- Use the Select Payment Method drop down to select your desired payment method
- Check off Use these details for all future payments as desired
- Click Pay Account Balance
- Enter your card details and click Submit
Learn More
Members who have generated invoices with multiple payments (installments) can actively make payments through their account. For this, they will need to log into their account with your organization and click their name at the top right (My Account). On their My Account page they can click Make A Payment at the bottom right of the Account Status tab (the default page they see when accessing their account).

Upon clicking Make A Payment a list of all owing/upcoming payments will be listed. The member can then check off each payment they wish to completed immediately. From there, they can use the Select Payment Method drop down to choose their desired payment method (likely credit card) and check off 'Use these details for all future payments' as desired. By marking this box their card details will be used for all future payments on the same invoice(s) as the current payment they are completing. From there they can click Pay Account Balance which will bring up a card details pop-up they can fill in, or select an existing card, and click Submit to finalize.
Updating A Payment Method
- Navigate to My Account
- Click Update Payment Method
- Check off each payment you wish to update information for
- Use the Select Payment Method drop down to select your desired payment method
- Check off Use these details for all future payments as desired
- Click Update Payment Method
- Enter your card details and click Submit
Learn More
Members who have generated invoices with multiple payments (installments) can actively update their preferred payment information through their account. For this, they will need to log into their account with your organization and click their name at the top right (My Account). On their My Account page they can click Update Payment Method at the bottom right of the Account Status tab (the default page they see when accessing their account).

Upon clicking Update Payment Method a list of all owing/upcoming payments will be listed. The member can then check off each payment they wish to update information for. From there, they can use the Select Payment Method drop down to choose their desired payment method (likely credit card) and check off 'Use these details for all future payments' as desired. By marking this box their card details will be used for all future payments on the same invoice(s) as the current payment they are completing. From there they can click Update Payment Method which will will bring up a card details pop-up they can fill in, or select an existing card, and click Submit to finalize.
A Helping Hand To Members
While many of the images captured in this article may look different from your Uplifter site, the features and tools are all the same. Thus, it may be beneficial for you/your team to extrapolate the information found in this article and outline it on a "Help", "How To" or "FAQs" page on your site. Having a self-help resource, even a very basic one, can drastically reduce the questions and concerns your members might have. This is especially true if you are transitioning from another software to Uplifter.
Please see our article Public Website Management for more information on creating custom pages.